 Nissan Maxima: Using the image viewer
When a compatible portable storage device is plugged into the USB jack located in the center console, compatible image files stored on the device can be viewed on the control panel device.
Connecting the portable storage device
To connect a portable storage device to the system so that images stored on it can be viewed, insert the device into the USB jack located in the center console.
Viewing images
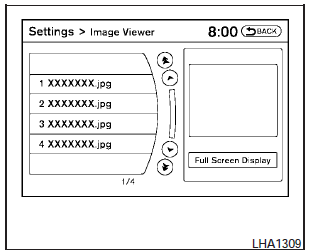
To view an image, press the SETTING button and then select the Image Viewer key with the NISSAN controller. The Image Viewer screen will be displayed.
A list of compatible images on the storage device is displayed on the left side of the screen, while the selected image is displayed on the right side of the screen. To choose a different picture from the list, use the NISSAN controller to scroll through the list once the desired image is highlighted.
Select the Full Screen Display key and press the ENTER button to view a full screen version of the image.
Image requirements:
- Image type: JPEG.
- File extensions: *.jpg, *.jpeg.
- Maximum resolution: 2048 x 1536.
- Maximum size: 2 MB.
- Colors: 32,768 (15-bit).
- Maximum file name length: 253 bytes (display.
only shows first 8 characters).
- Maximum folders: 500.
- Maximum images per folder: 1024.
Viewing images
in a slideshow
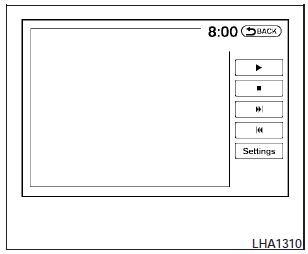
To view all of the images on the device in a slideshow, first enter the full screen mode while viewing one of the images. The slideshow control buttons are located on the right side of the screen.
Select the play key  to begin the
slideshow.
The images shown on the screen will periodically change at a given interval of
time. To skip through the images without waiting for them to change automatically,
select the  key to skip backward or the
 key to skip forward. Select the stop
key
  to end the slideshow and return
to the full screen display of the image currently on the screen.
Slideshow settings
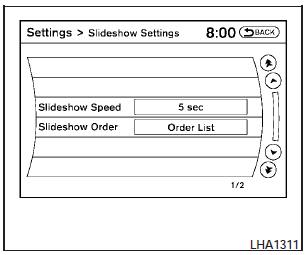
While in slideshow mode, select the Settings key. The Slideshow Settings screen will be displayed.
The following settings can be accessed:
Slideshow speed:
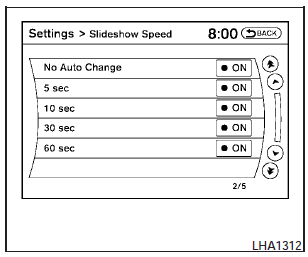
To change the interval of time at which images are changed during a slideshow, select the desired interval key. The indicator light to the right of the interval will come on to show that it is selected.
If the option No Auto Change is chosen, the slideshow will not change images automatically.
The slideshow can then only be operated using the manual controls.
To return to the slideshow screen, select the Back key or press the BACK button on the control panel.
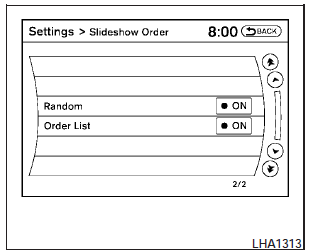
Slideshow order:
To change the order in which images are displayed during a slideshow, select one of the options.
If the Random key is selected, images will be displayed in a random order during a slideshow. If the Order List key is selected, images will be displayed in the order in which they are stored on the storage device.
To return to the slideshow screen, select the Back key or press the BACK button on the control panel.
 Off button
To change the display brightness, press the
OFF button. Pressing the button again
will change the display to the day or
the night display. The brightness can
then be adjusted using the NISSAN c ...
 RearView Monitor (if so equipped)
When the shift selector is shifted into the R (Reverse) position, the monitor
display shows the view to the rear of the vehicle.
The system is designed as an aid to the driver in detecting large st ...
See also:
Customizable features
Your vehicle includes a variety of electronic features that can be
personalized
to suit your preferences. Programming these preferences
requires specialized equipment and may be performed by you ...
Head Restraint Removal and Reinstallation
The rear outboard head restraints can be removed if they interfere with the proper installation of the child restraint.
To remove the head restraint:
1. Partially fold the seatback forward. See Rear ...
Playing from an iPhone®
This feature supports the following
iPhone model:
• iPhone (3G – 3GS)
To use the iPhone, follow the same
instructions as stated earlier for
using an iPod. ...
